How to Create AI Videos
with Vidu Q3 Pro
Use text prompts for rapid iteration.
Maintain consistency with image inputs.
Generate video and audio in one pass.
Creating an AI video usually sounds harder than it really is. Most people just want a simple way to turn an idea into a short video without learning editing software first.
With Vidu Q3 Pro, the workflow is straightforward: write a prompt or upload an image, adjust a few settings, and generate. It is a practical option when you want results quickly and do not want a complex production process.
If you are looking for an ai video generator that is beginner-friendly, this ai video tutorial walks through the exact steps.
What You Can Do with Vidu Q3 Pro
Turn text into video from a simple idea or script.
Animate images while keeping visual consistency.
Generate video with synchronized AI audio.
Control camera movement with simple wording.
Create cinematic clips up to 16 seconds.
Iterative workflow for rapid prototyping.
Step-by-Step Guide
Choose Input Type
Start by choosing how you want to generate:
Text to Video
Best when you only have an idea, script line, or concept.
Image to Video
Better when you need visual consistency (logos, products).
If your goal is quick exploration, text mode is faster. If your goal is consistency, image mode is usually better.
Write Your Prompt
A prompt tells the model what to create. Keep it clear and descriptive, like giving short creative directions.
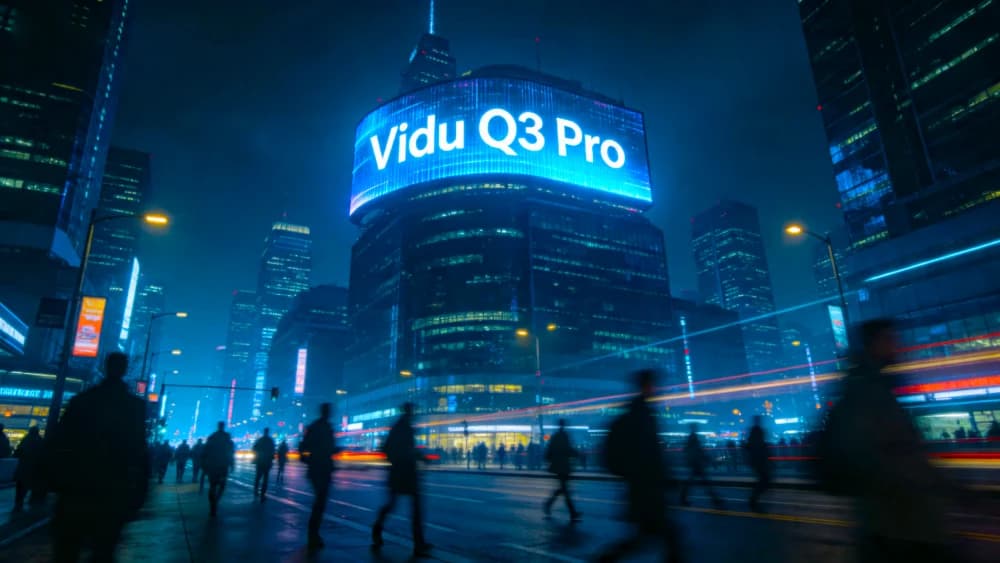
A cinematic city at night, neon lights, rain, slow camera pan, ambient musicA product showcase of a smartwatch, clean background, soft lighting, smooth rotationThe Golden Ratio of AI Prompts
- Subject
- Action
- Style
- Camera
- Lighting
- Environment
Adjust Settings
Before generating, set the basics:
Generate Video
Click Start Creating and wait for processing. Vidu Q3 Pro creates the video and sound together in one pass, so you can preview results without extra editing.
Review and Improve
Watch the preview and make small changes.
- Adjust prompt wording if results are too vague.
- Try slight variations in camera direction.
- Regenerate to see alternative compositions.
- Refine the audio prompt for specific atmospheres.
Focus on iteration: Don't expect perfection on the first try. AI is a collaborative tool.
Tips for Pro Results
Tip 1: Be Specific
Instead of 'a cool video', try 'a cinematic sunset beach scene with soft teal and orange lighting, slow motion 4k'.
Tip 2: Use Camera Terminology
Incorporate terms like 'tracking shot', 'extreme close-up', or 'dolly zoom' to get specific movements.
Tip 3: Orchestrate Sound
Describe the vibe: 'ambient cinematic piano', 'busy street noise', or 'soft female narration'.
Creative Use Cases
Common Questions
Ready to Turn Your Ideas into Video?
Create stunning AI videos in seconds with Vidu Q3 Pro. Try your first prompt now.